
Commemorating the birth of a new baby is important. Especially when this new life is the daughter of dear friends. Wanting to give them something meaningful, I chose to celebrate a new addition with original art. Specifically, a name gift, because what’s more personal than one’s name? Below is the process I used to make this mixed media art piece.
Step 1: Preparing the canvas
I chose a 12 X 12 canvas for Juliana’s name piece. To prepare it, I laid down a layer of white acrylic paint. Once dry, I moved on to …
Step 2: Choosing the background
Using a variety of scrapbook paper, I picked out pieces that blended well together and fit the vintage look I was going for.
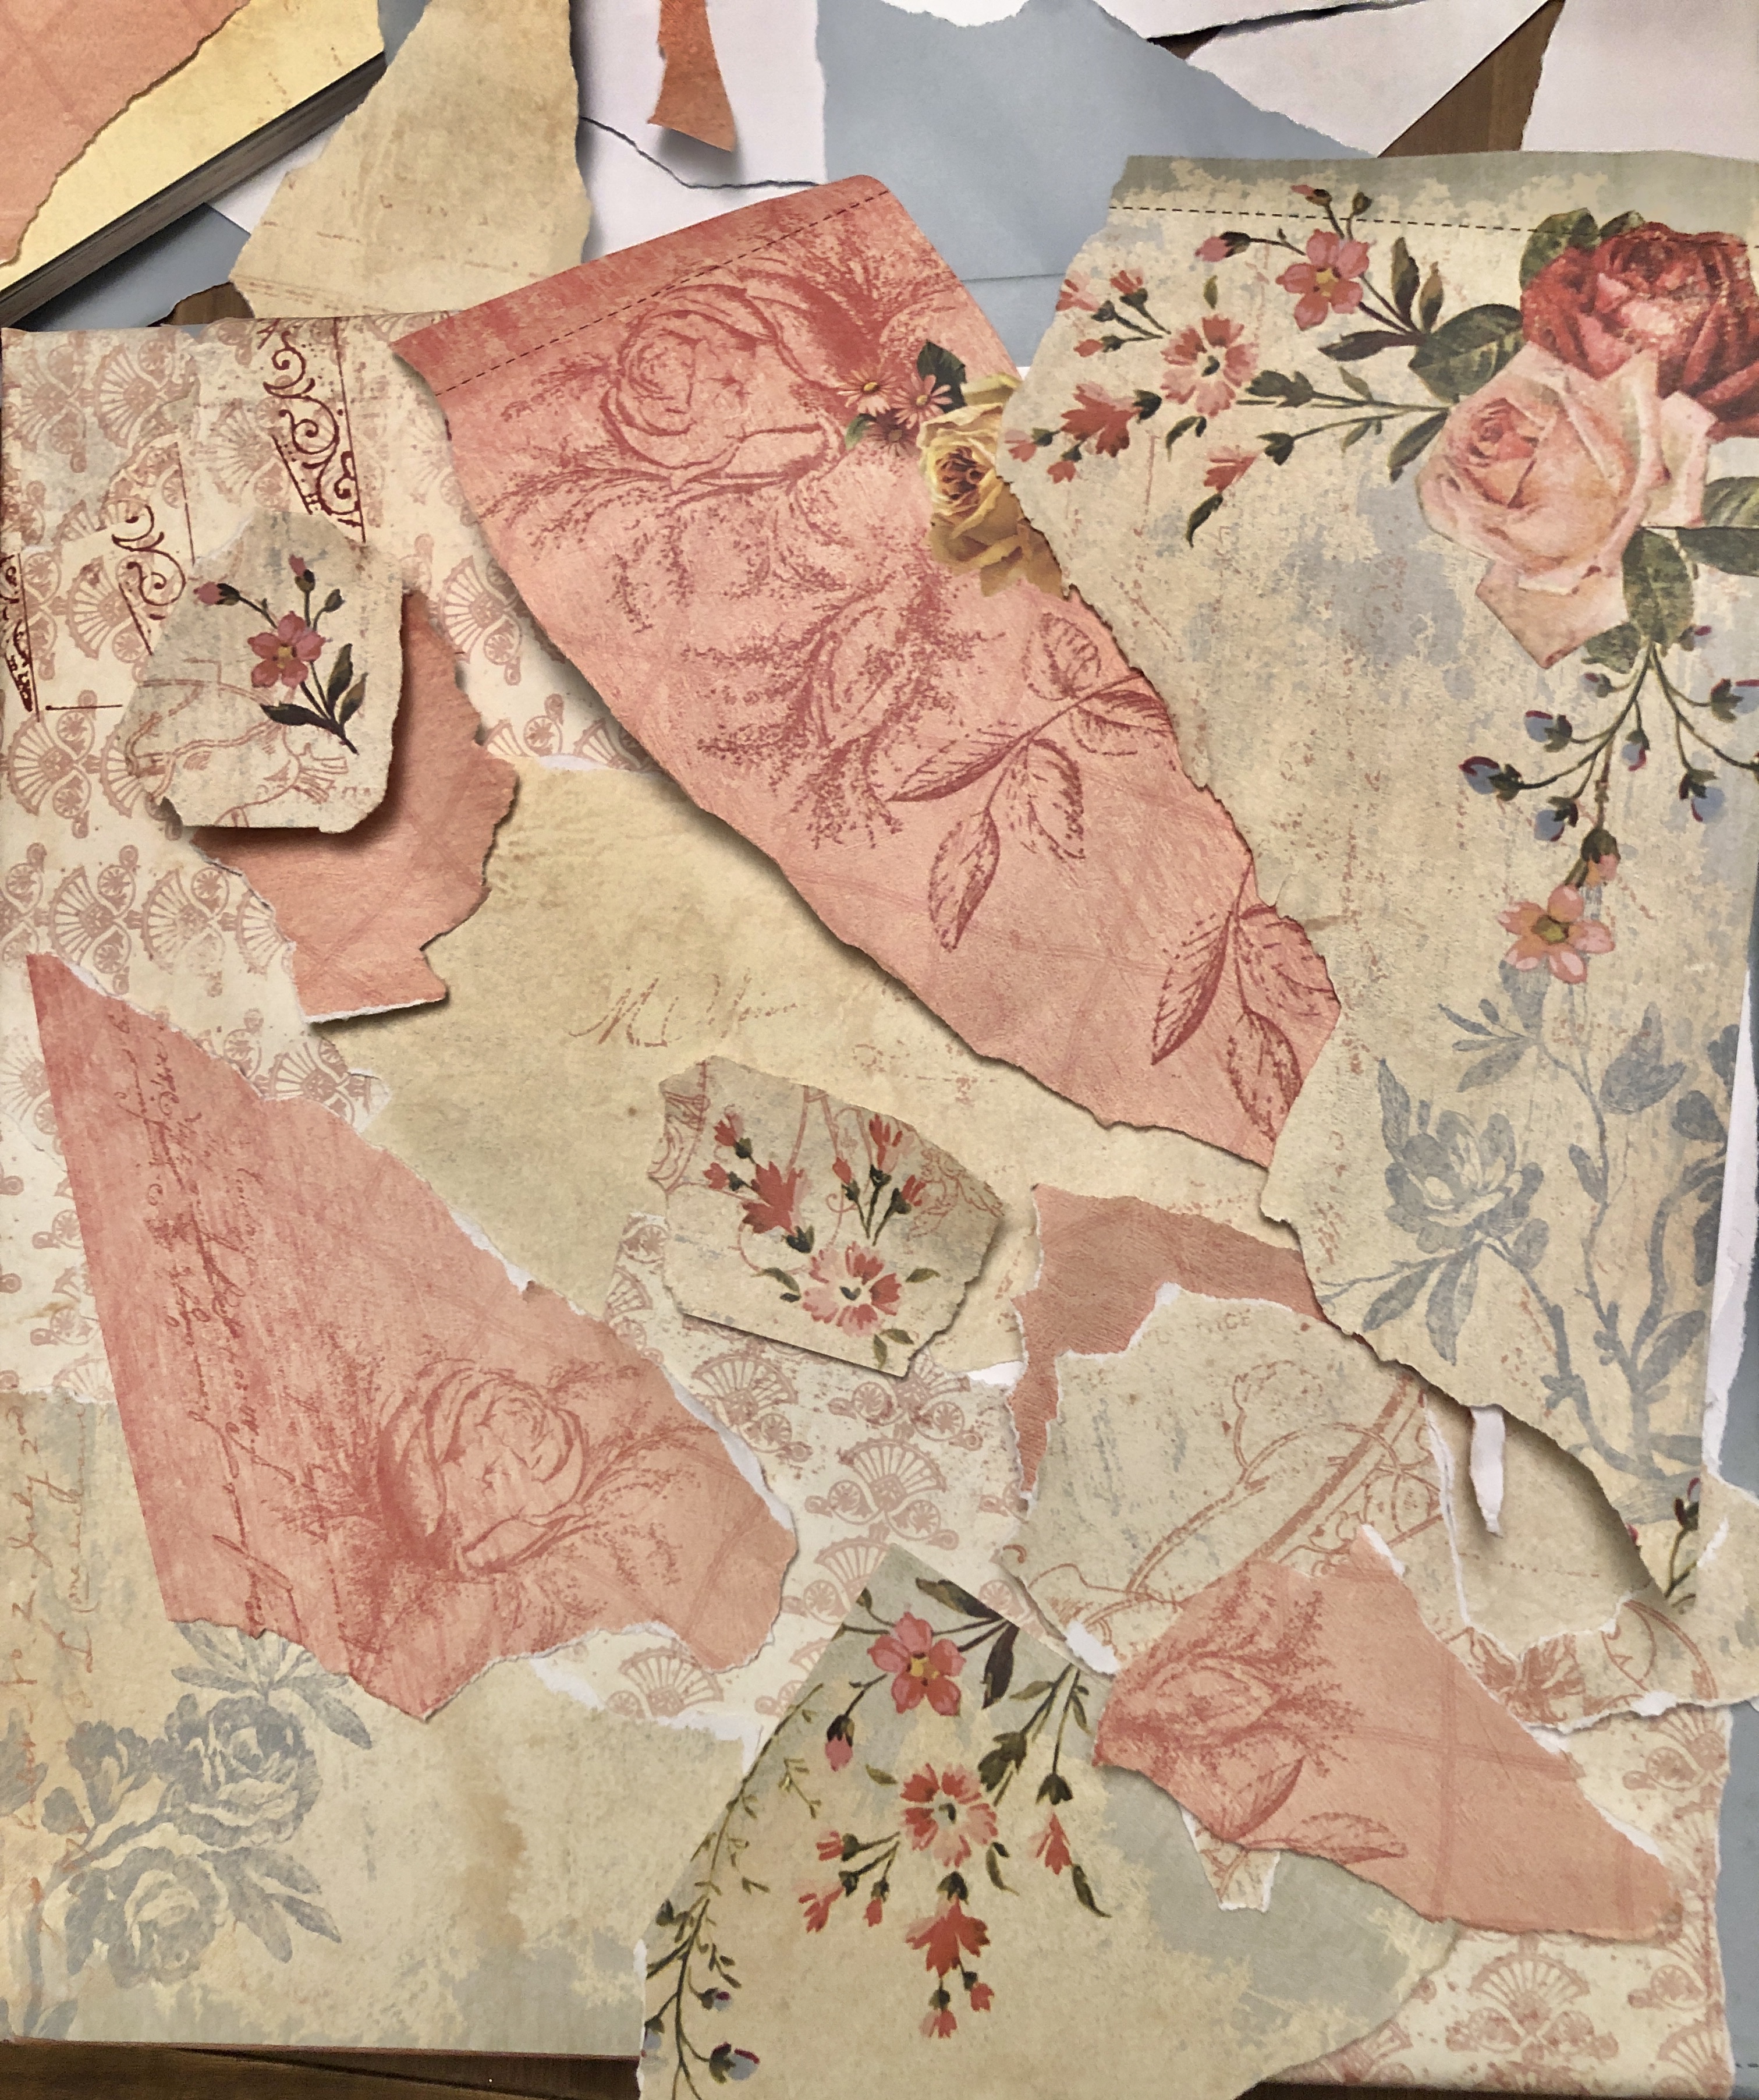
Step 3: Arranging the background
I played around with several options for the best way to form the background layer. Once I got the look I wanted, it was time to continue to the next step.
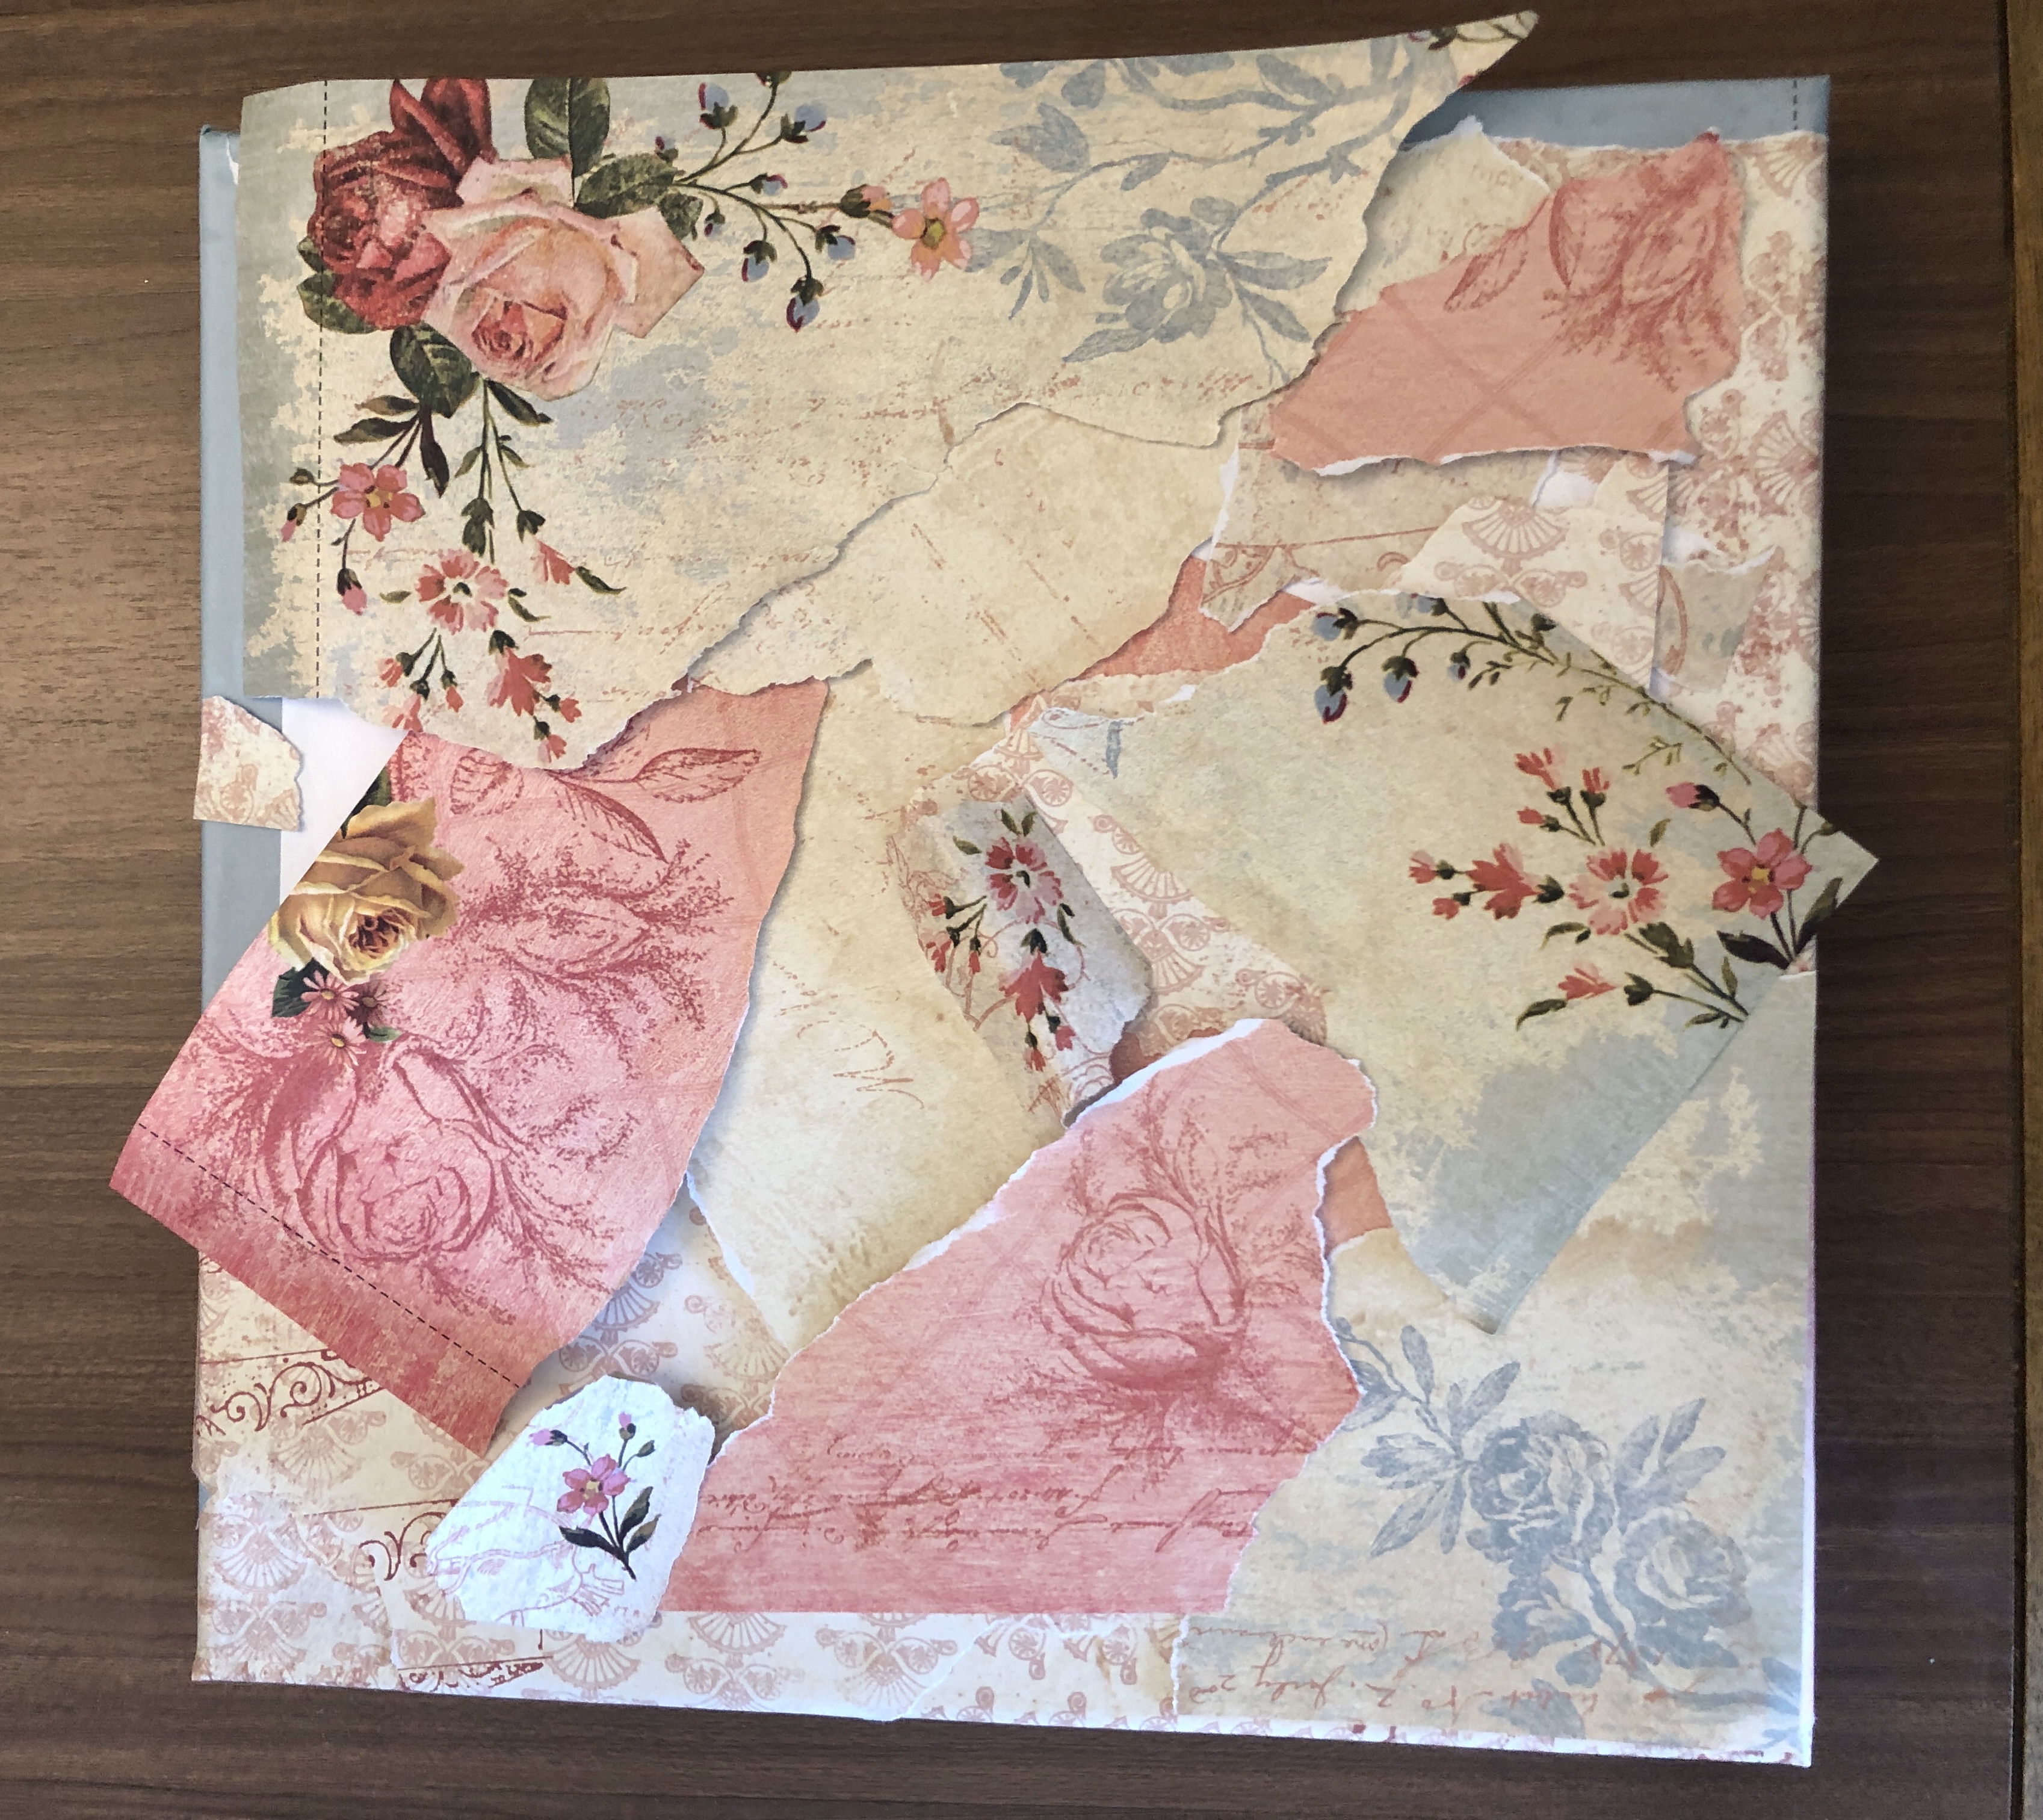
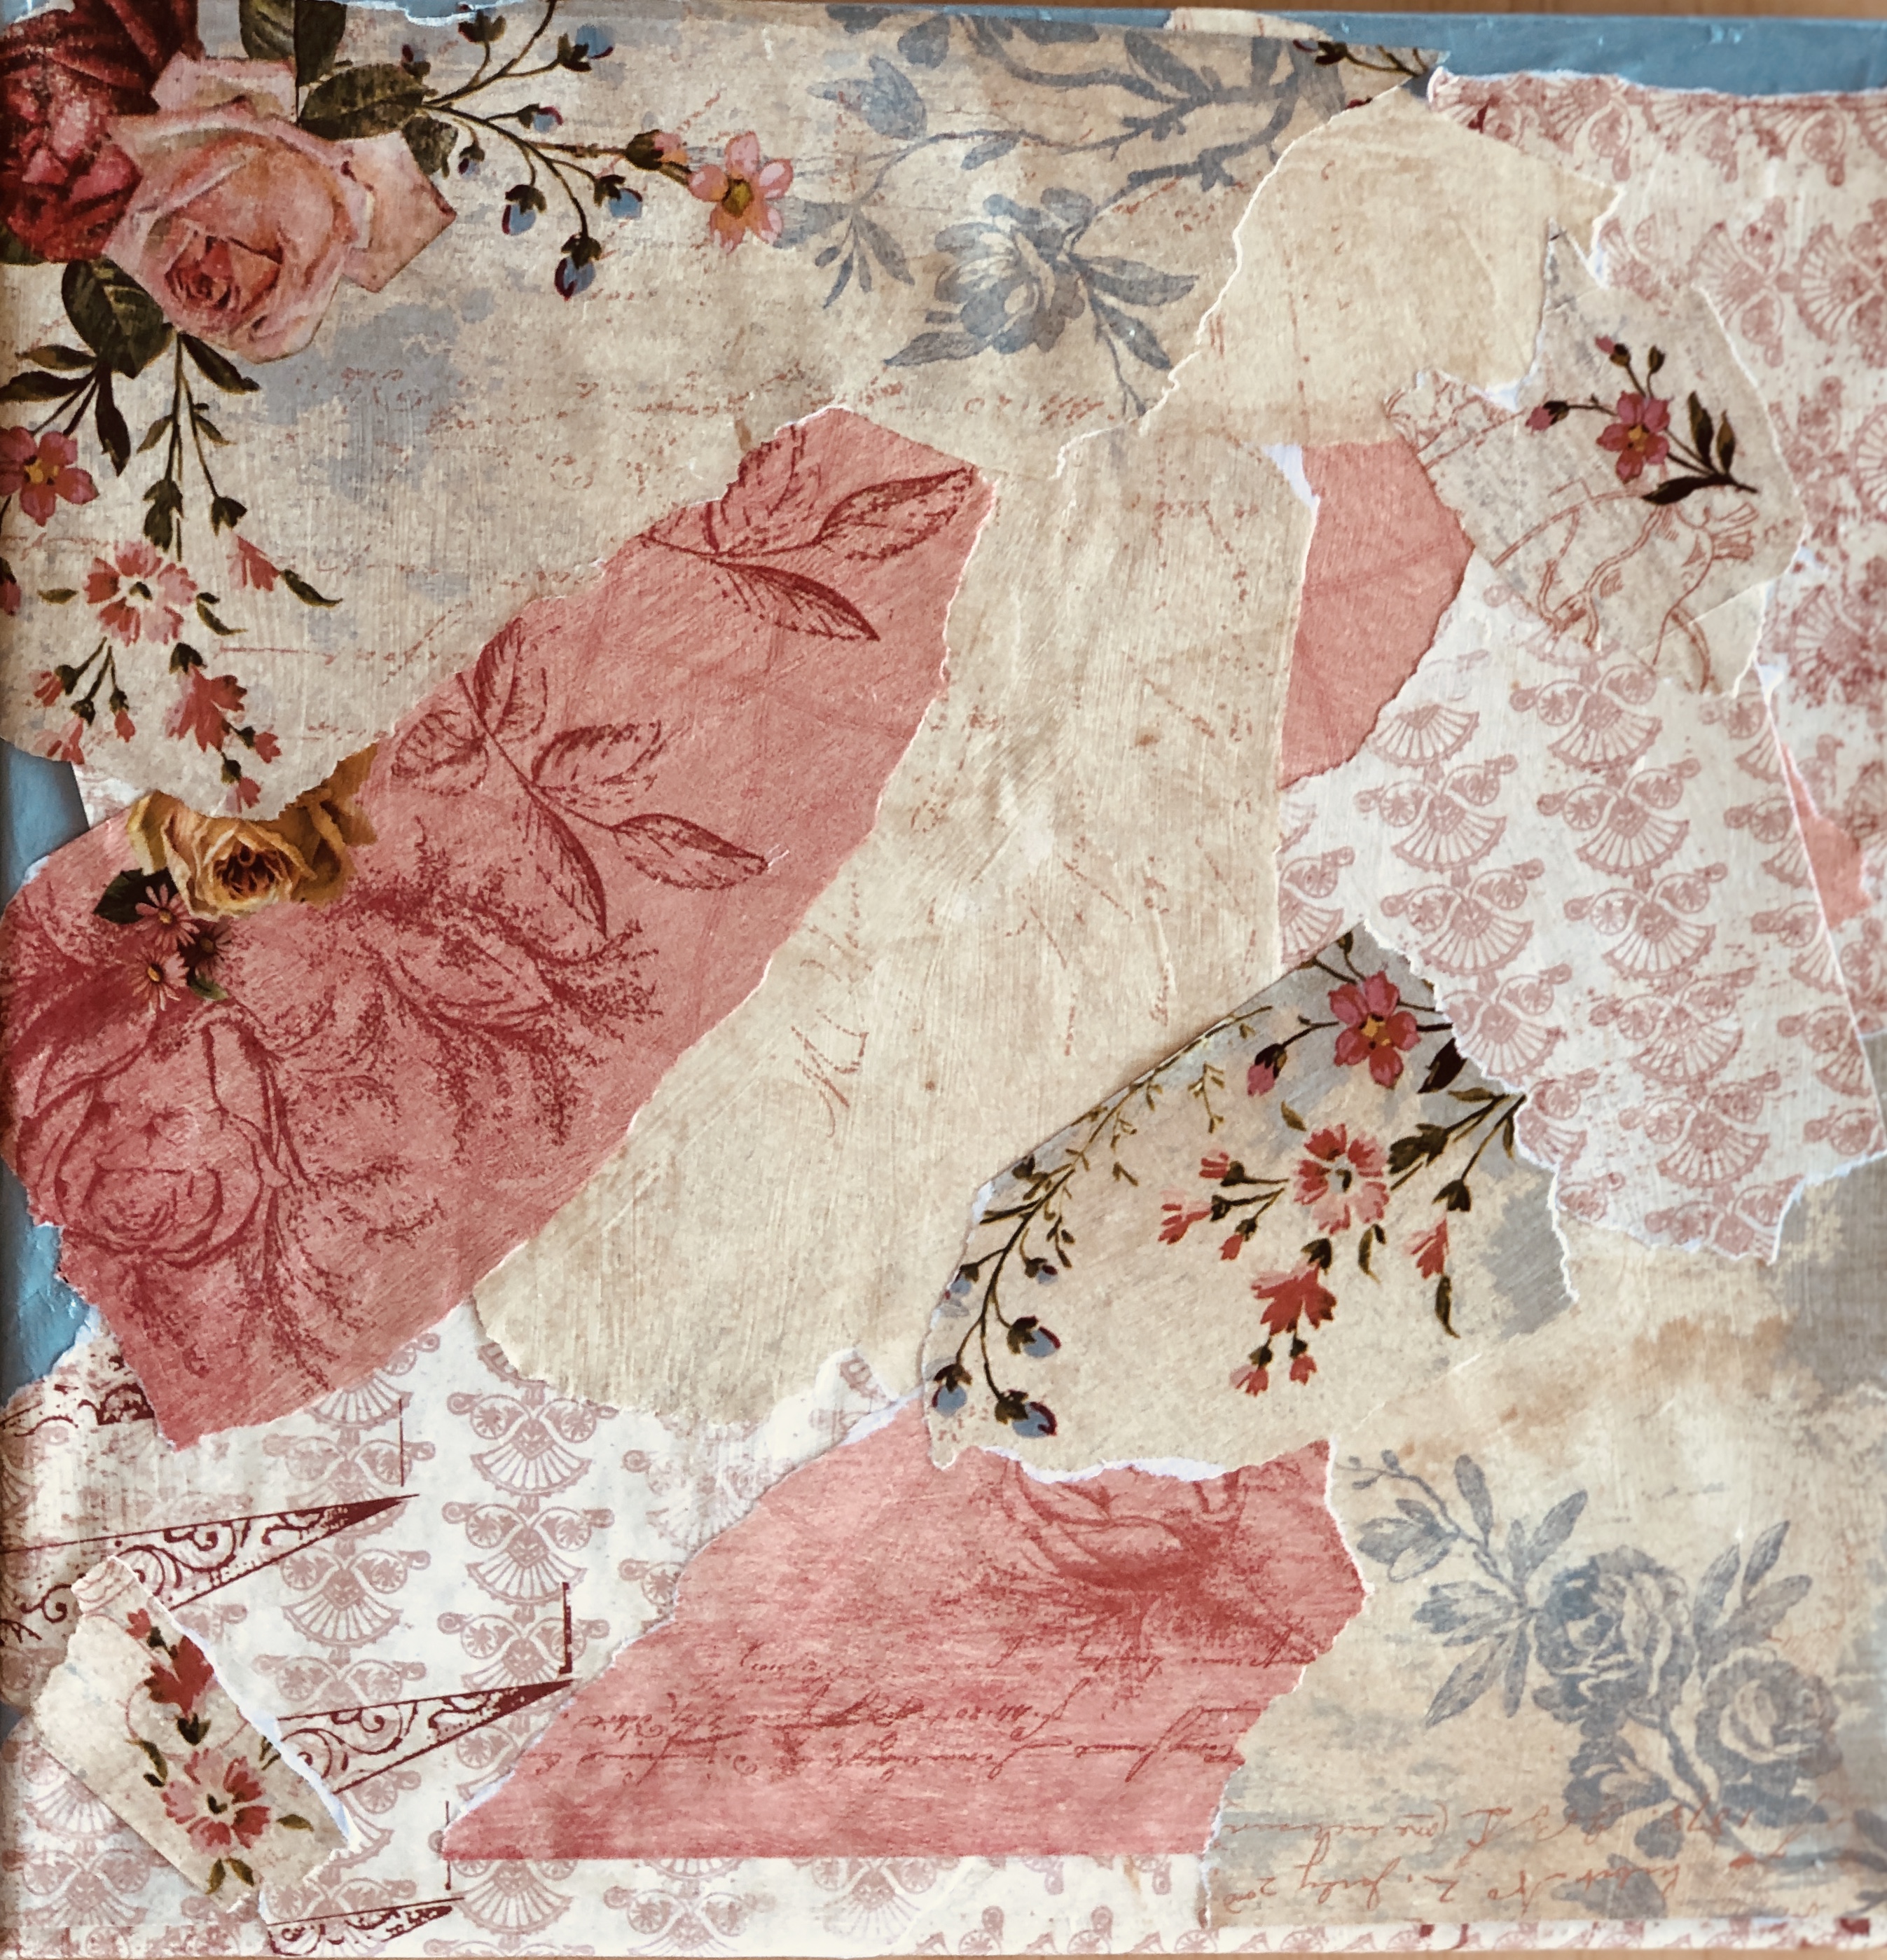
Step 4: Attaching the pieces to the canvas
Using a gel glue stick, I affixed the paper to the canvas being sure to smooth out the pieces as I went. Following gluing, I used Modge Podge over the entire piece, doing my best to keep the pieces taut.
Step 5: Adding her name
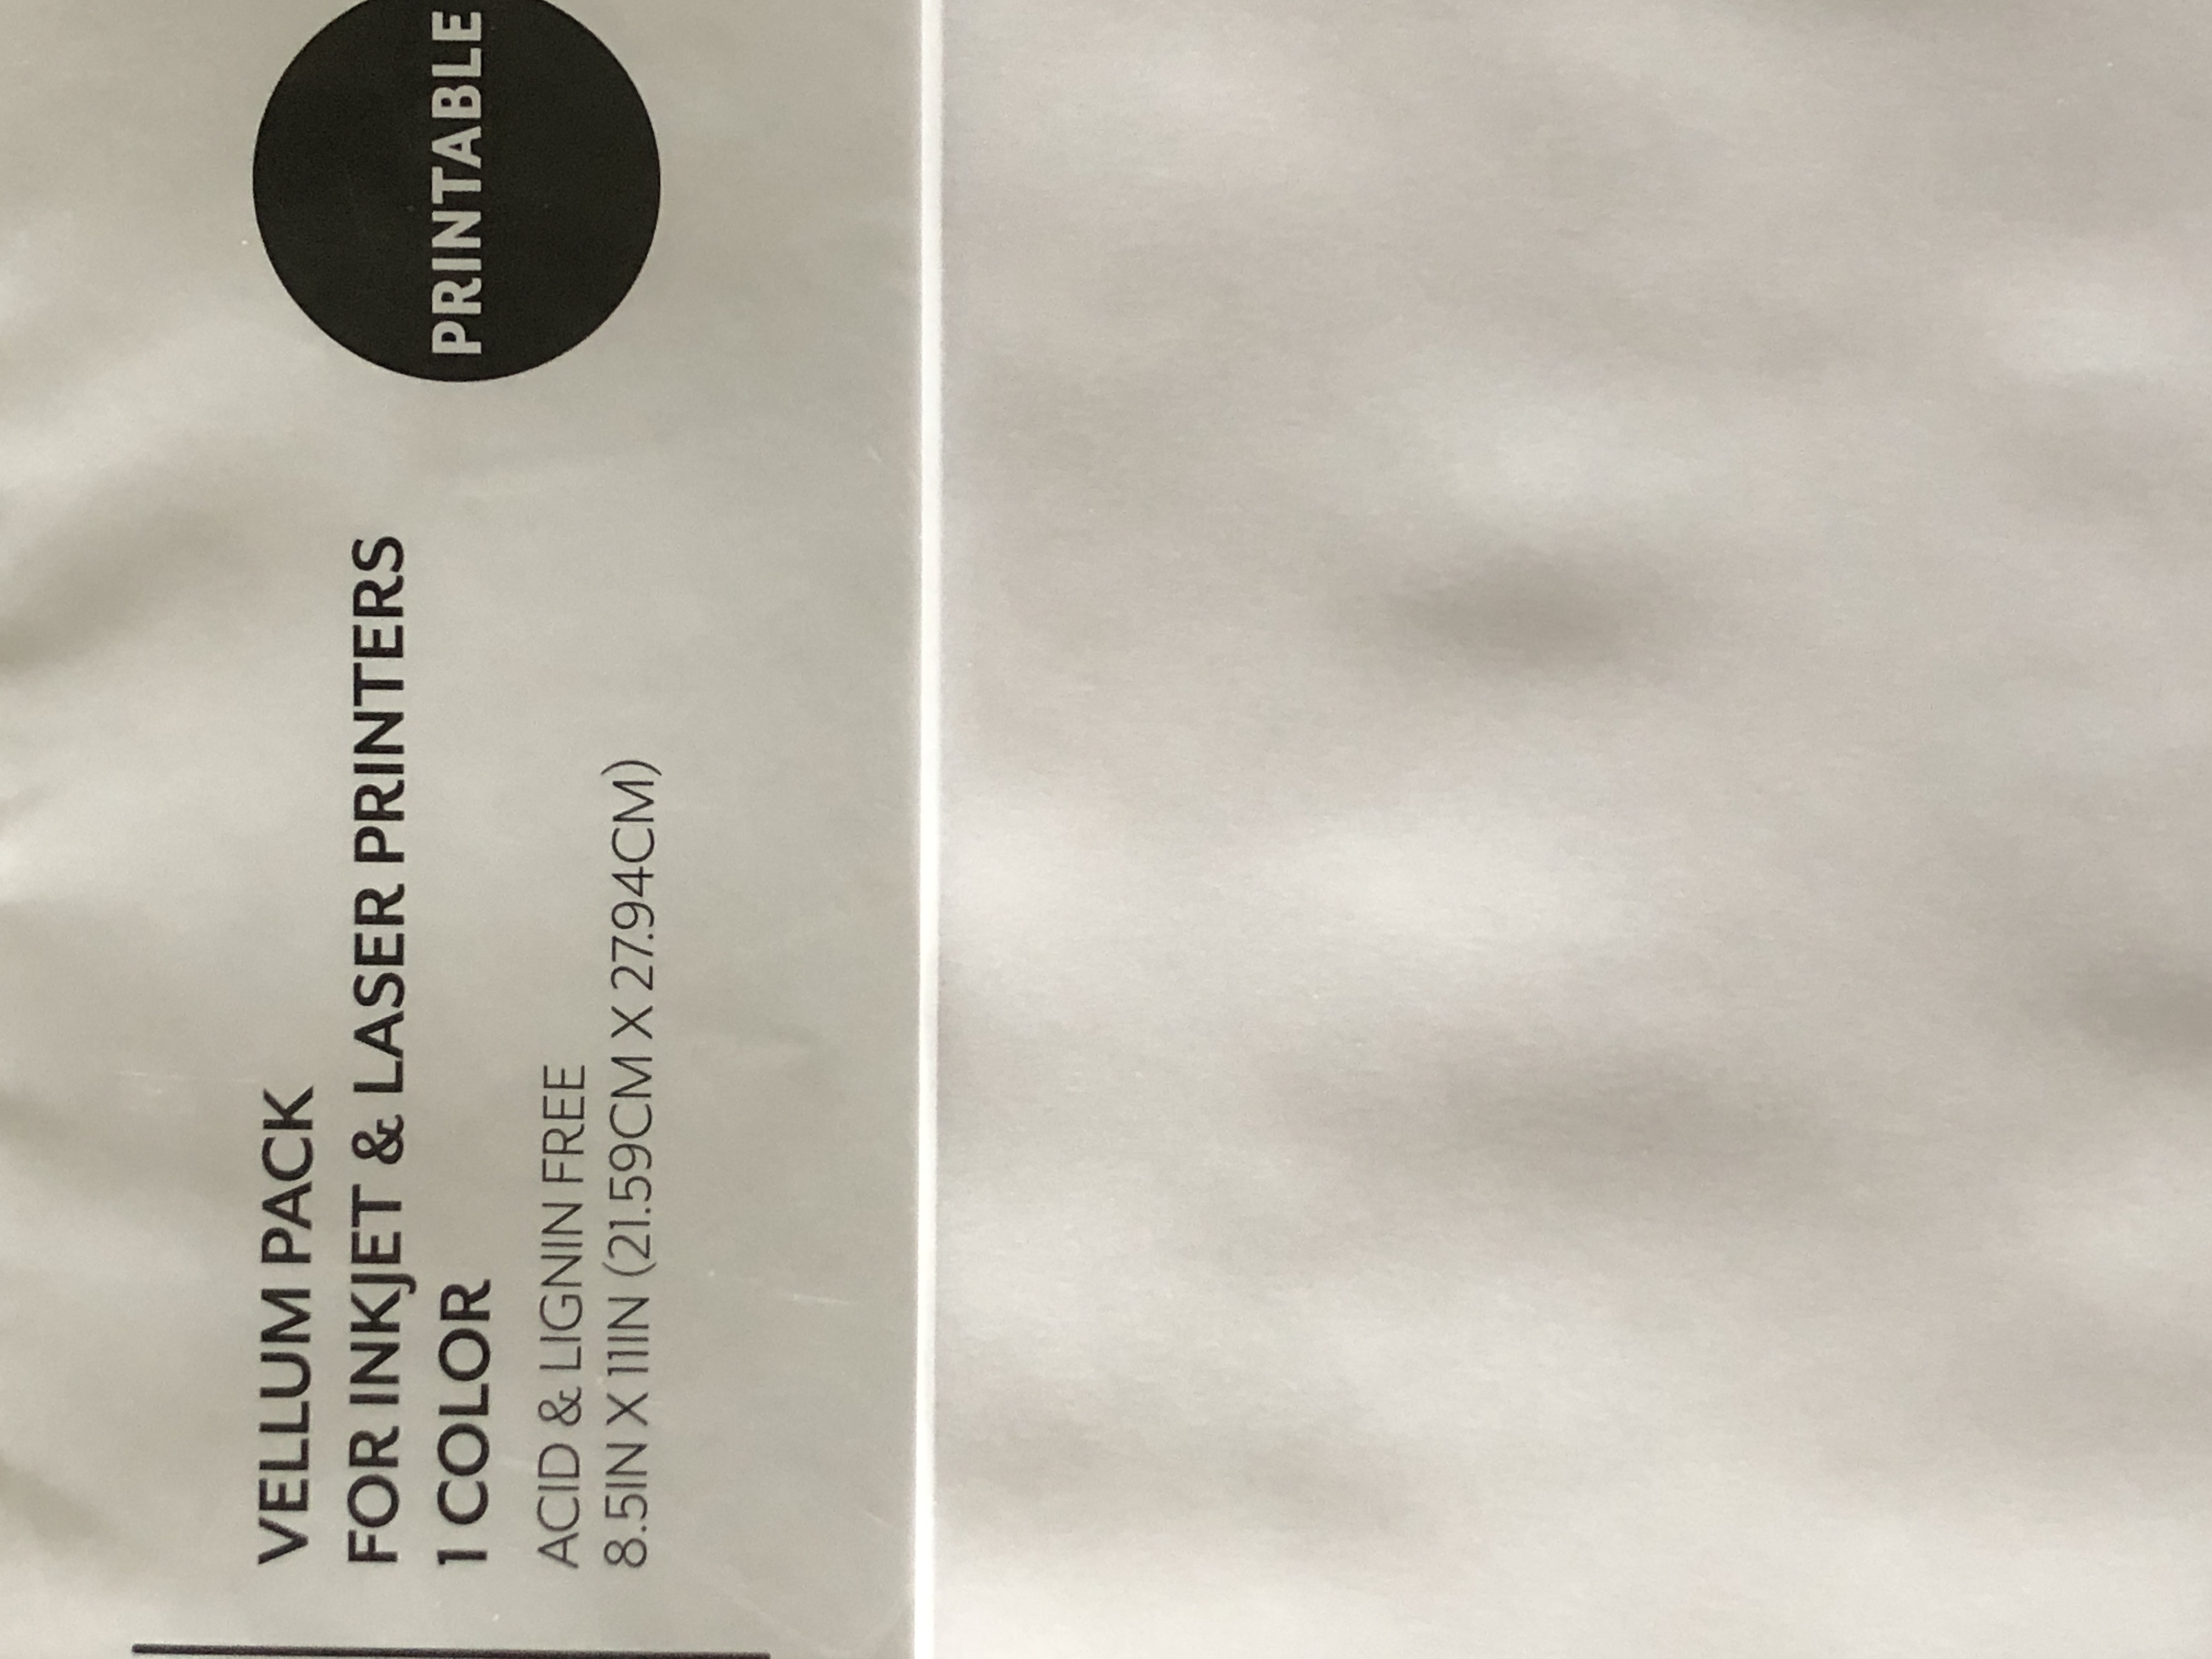
Once I composed the script for Juliana’s name art, I used plain vellum to do the printing. One tip: make sure to let it dry completely before gluing it on. I used a gel glue stick that dries clear to attach the cut out square onto the canvas. Then I used Modge Podge over this layer. Once completely dry, I used hair spray to seal the piece.
Step 6: Adding the pearls
I initially was planning on using a blush pink string of pearls for Juliana’s piece. When I compared it with the teal, the teal easily was the right choice. To attach the pearls, I placed a thin line of white glue that dries clear around the edges of the vellum square. Gently pressing, I held the pearls in place for a few seconds as I went. Once in place, I continued to put light pressure on the pearls with a gentle touch around the piece. When I knew the pearls would stay in place, I left it to dry.

The Finished Piece:
Here is the finished mixed media piece for Juliana!
Juliana, welcome to the world. By the way, you are part of a fabulous family!
Always Yours,
Cheryl